Why not install Android on the computer
Surely many users would like to try running Android on a computer or use it as an operating system if necessary. You can use this feature as an experiment or to work on a weak computer, since Android runs quite fast on such machines.
If you do not need to install Android on your PC, then you can use special Android emulators. In this case, you can run the games and programs of this OS on Windows.
Android x86 for PC download
This open source Android porting development is quite popular among users. It can be used for PCs, laptops with x86 and x64 processors. To date, a version of Android 5.1.1 is available for download.
Android Install Drive
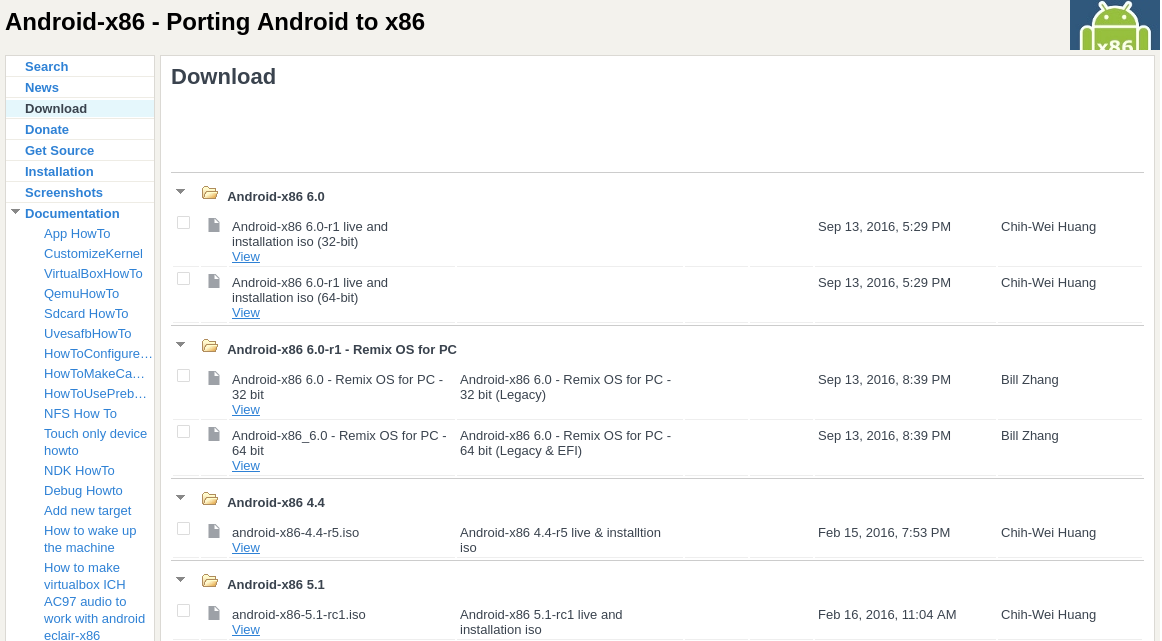
You can download Android x86 from the developer’s resource. Here you can find ISO and IMG images for download. In addition, there are specially designed versions for specific PC models, as well as universal ones.
To use an image, after downloading it must be recorded on optical media or flash drive. You can make an installation USB drive using the Rufus application. To do this, you must use certain settings. When the program prompts you to select the ISO or DD record mode, you must specify the first option.
To burn an IMG image, you can use the Win32 Disk Imager utility with free distribution.
Work with Android x86 on a PC without installation
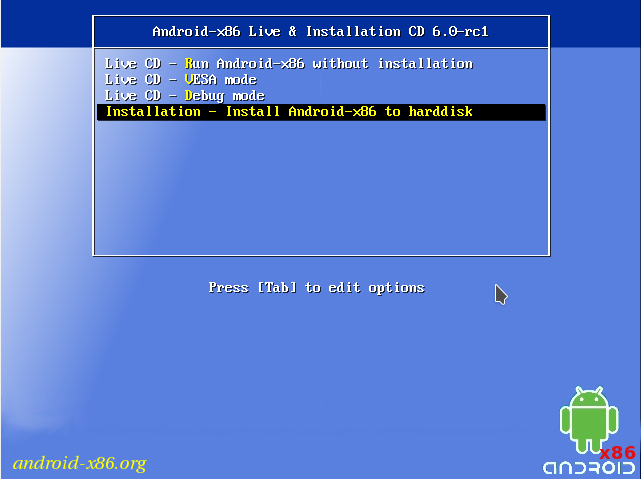
After creating the installation of the Android flash drive, you need to boot from it. A menu will appear on the screen where you will be prompted to choose to install Android x86 on a PC or launch an OS without affecting the system data. Here you need to choose the first option.
Then a short download procedure will begin. A window will pop up where you need to specify the language, and the Android settings window will appear behind it. In this window, you can take no action, and simply click "Next."
After this, the main screen of Android 5.1.1 will open. The computer should earn Wi-Fi, local area network, as well as install drivers for the video. Everything should work fine even on weak PCs. Sometimes it can happen to freeze when launching Internet pages with a standard browser. In this case, only restarting the PC can help. It is worth noting that Google Play is not installed by default.
Installing Android x86
If you select the second item when booting from a USB drive, you can install Android on a PC, as the main OS or backup. If this is necessary, then it is recommended to create a special section for the installation before the procedure. The bottom line is that it is quite difficult to work with the hard drive partitioning tool integrated into the utility.
After that, you can be taken for the installation of OSes. In case of using the NTFS file system, it is recommended to leave a section for Android in it. The first window will offer to choose a section for installation. Here you need to specify the one that was previously prepared.
After that, you may need to format the partition. If you need to fully use Android on your computer, you need to use ext4. If you refuse to format, then upon completion of the installation, you will need to allocate space for data storage. In this case, it is recommended to specify the maximum volume.
Then the installer will offer to install the Grub4Dos bootloader. In this case, you must agree if, in addition to Android, another OS will be used. If the installer detects other operating systems, it will prompt you to insert them into the boot menu. This must be done.
If using UEFI boot, you need to confirm the EFI Grub4Dos entry or click Skip. Then the installation of Android x86 will start. After it is finished, you can immediately start a new system or restart the computer and select the desired one from the menu. Everything. After that, you can safely use the new system on your computer, although it is not quite intended for this.
Remix OS For PC based on Android x86
In the winter of this year, a new OS Remix OS for PC, which is based on Android x86, was born. It has a better interface and is designed for comfortable use of Android on a PC.
From the updates, you can select multiple windows for performing various tasks simultaneously. Also, the operating system was equipped with analogs of the taskbar and Start. In addition, there was a notification area, which is very similar to Windows. In addition, there was a desktop and the ability to customize the interface, like on a computer. This operating system can be run from a bootable flash drive or installed on the hard drive. Download Remix OS from the official developer resource.
Everyone knows that the Android operating system is developed by Google for smartphones and tablets. At the moment, it is the most popular platform for these devices. The official Android version can only work on supported devices with ARM architecture. But since Android is an open source project, the community has created an Android port for x86 computers, which will work on almost any modern computer.
The official version of Android 6.0 from Google came out a long time ago, but only a few days ago, developers released a stable version of the Android x86 port for version 6.0. In this article, we will look at installing Android x86 6.0 on a computer or laptop. Perhaps the platform is not stable enough yet, but you can already use it and you will be convinced of it.
Android x86 6.0 system requirements
Android x86 is quite demanding of hardware. Ideally, it should work on any x86 computer. But in fact, not everything is so simple. The developers have tested the system on several devices, for example, laptops from ASUS, EeePC and Dell, the full list of supported devices and their level of support can be found on the official website.
As for the equipment and characteristics, the following parameters are recommended:
- CPU: Intel;
- RAM: 2048 MB;
- Free disk space: 10 GB;
- USB flash drive - to record the installer.
Preparing to install
As with other operating systems, we first need to download the installation media. You can download the latest version of the system from the repository on SourceFoge or the official website. Images are available for both 32 and 64 bit architecture:
It occupies a bit of image, only 400 or more megabytes, so boot quickly.
Step 2. Write to media
To install Android, you need to use either a USB flash drive or a rewritable disk. But it's better still a flash drive. I do not recommend using various utilities to write the image, do it with the following command:
dd if = ~ / android-x86-6.0.iso of = / dev / sdc bs = 5M
Here ~ / android-x86-6.0.iso is the newly downloaded image, and / dev / sdc is your flash drive.
Step 3. BIOS Setup
It's all standard. Restart the computer and during the BIOS startup screen, click F2, F8, Shift + F2 or Del to enter the BIOS setup, then go to the Boot tab and select 1st Boot Device your flash drive.

It remains to go to the tab Exit and press Exit & Save Changes.
Install Android 6.0
Step 1. Starting the installation
Immediately after restarting the computer, you will see such a boot loader window. Here you can either boot into the Live system, or go to its installation. We will be interested in the last item, installation:
The installer starts very quickly:

Step 3. Selecting a disk
In the first step, you have to select the disk on which you will perform the installation:

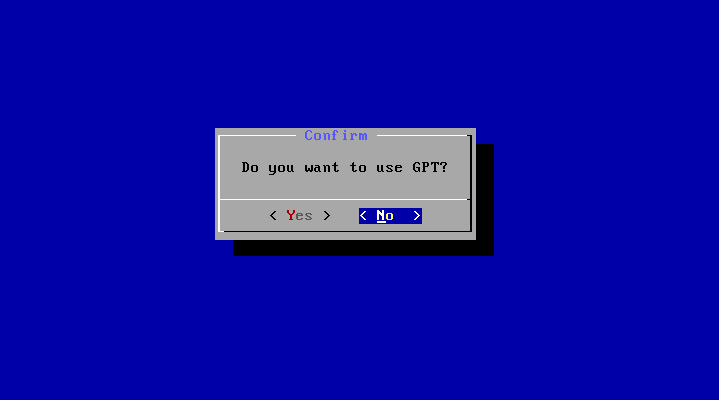
Step 4. Partition table
Further, if this disk is not yet marked up, it is necessary to select the partition table. GPT can be used, but I do not recommend it, since there is a high probability that the installation will simply hang. Therefore, in this step, select No. In this case, the MBR will be used:
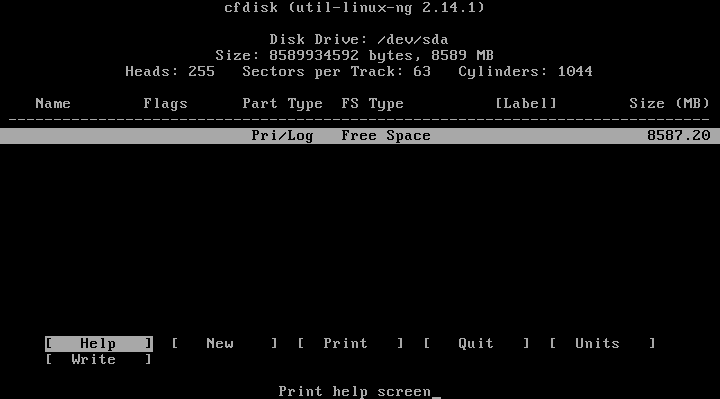
Step 5. Creating a partition
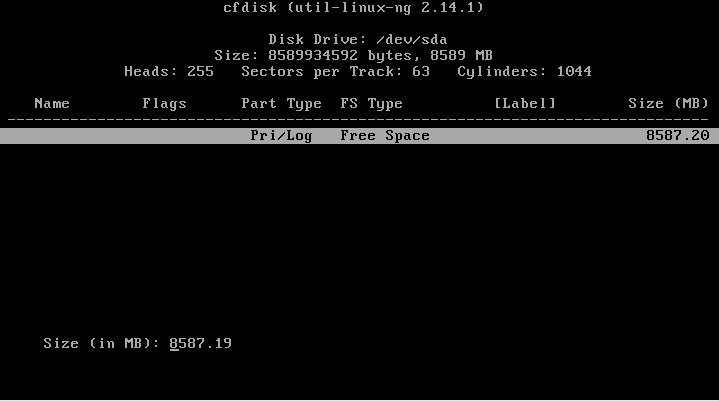
Android x86 6.0 is installed on only one partition. And at this step we have to create it. For this, the cfdisk utility will be used. First click New to create a new partition. You can move along the buttons using the left / right arrows, and press with Enter:
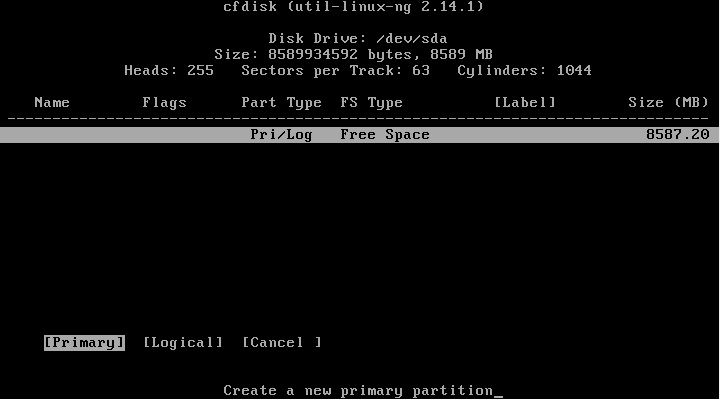
Select type primary, primary:
Find the Bootable button and press Enter to make this partition bootable:
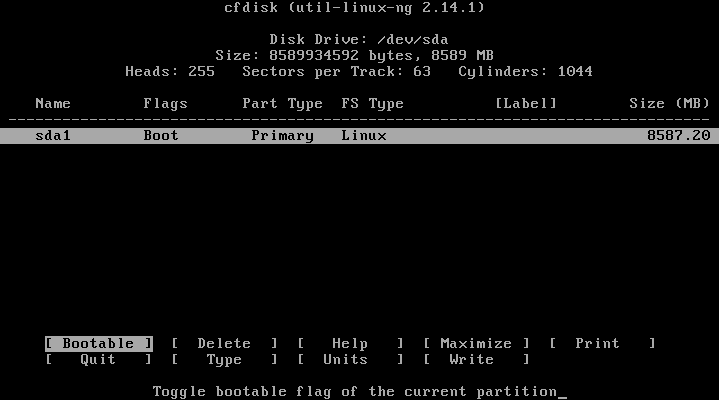
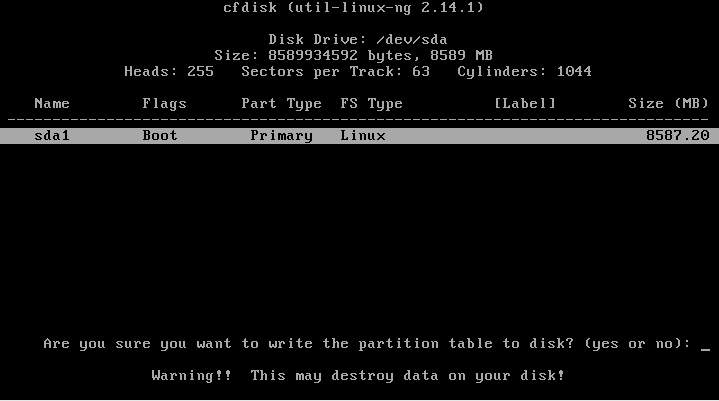
Find and click the Write button to write the changes to the disk. To confirm, type yes:
It remains to press the quit button to exit the program:

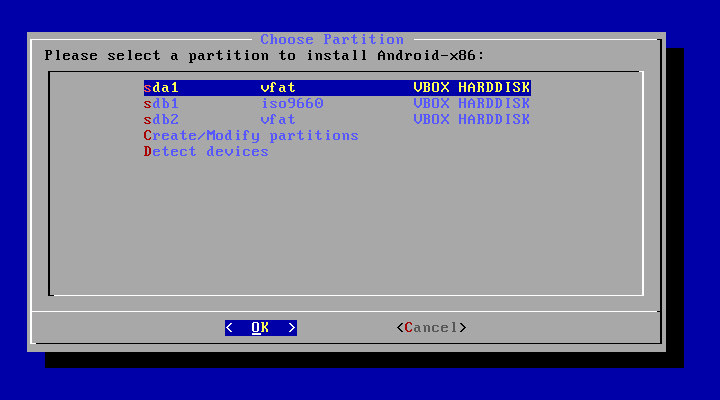
Step 6. Select a section
After the markup is complete, you need to select the section you just created:
Step 7. File System
Select a file system, for example ext4

Step 8. Formatting
Since we need a clean partition, we agree that it will be formatted:

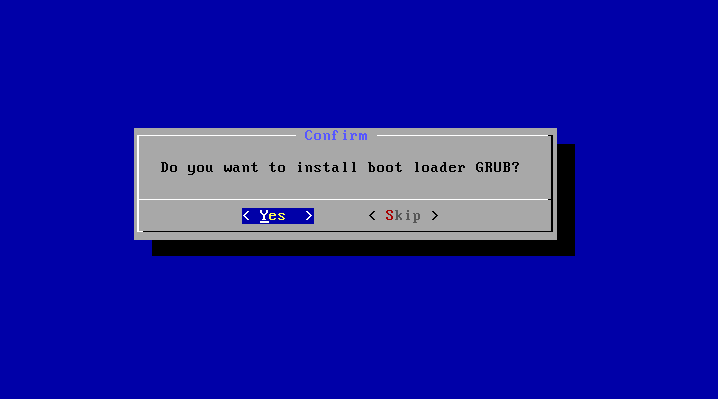
Step 9. Loader
We will need the bootloader, so choose Yes:
Step 10. EFI Downloader
But we do not need the EFI bootloader, given that we used the MBR. Select Skip:

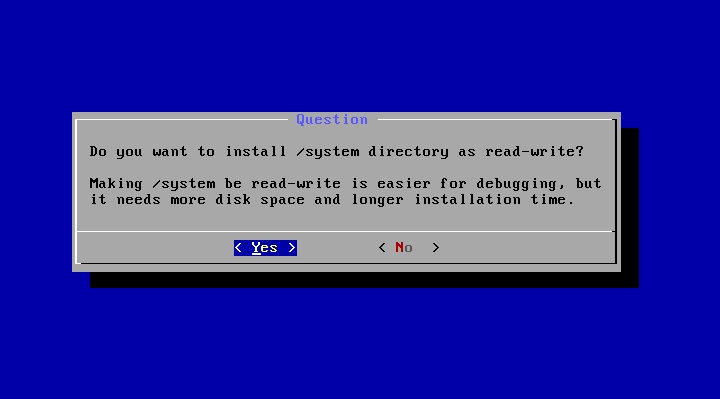
Step 11. Access Mode
In this window, you need to select whether to mount the system / system partition in read and write mode. This will be useful for installing new software, so select Yes:
Step 12. Completing the installation
Wait until all files are unpacked:

When the installation of Android on the computer is finished, select the Reboot option to restart the computer and enter the new system:
![]()
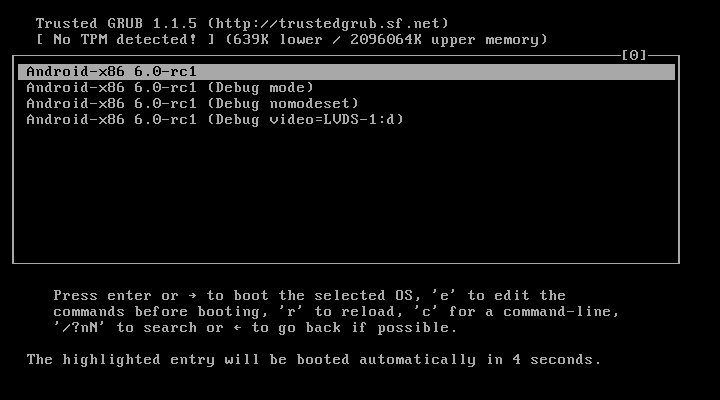
Step 14. Loader
Select the first loader item:
Step 15. Start the system
Wait until the system is booted.
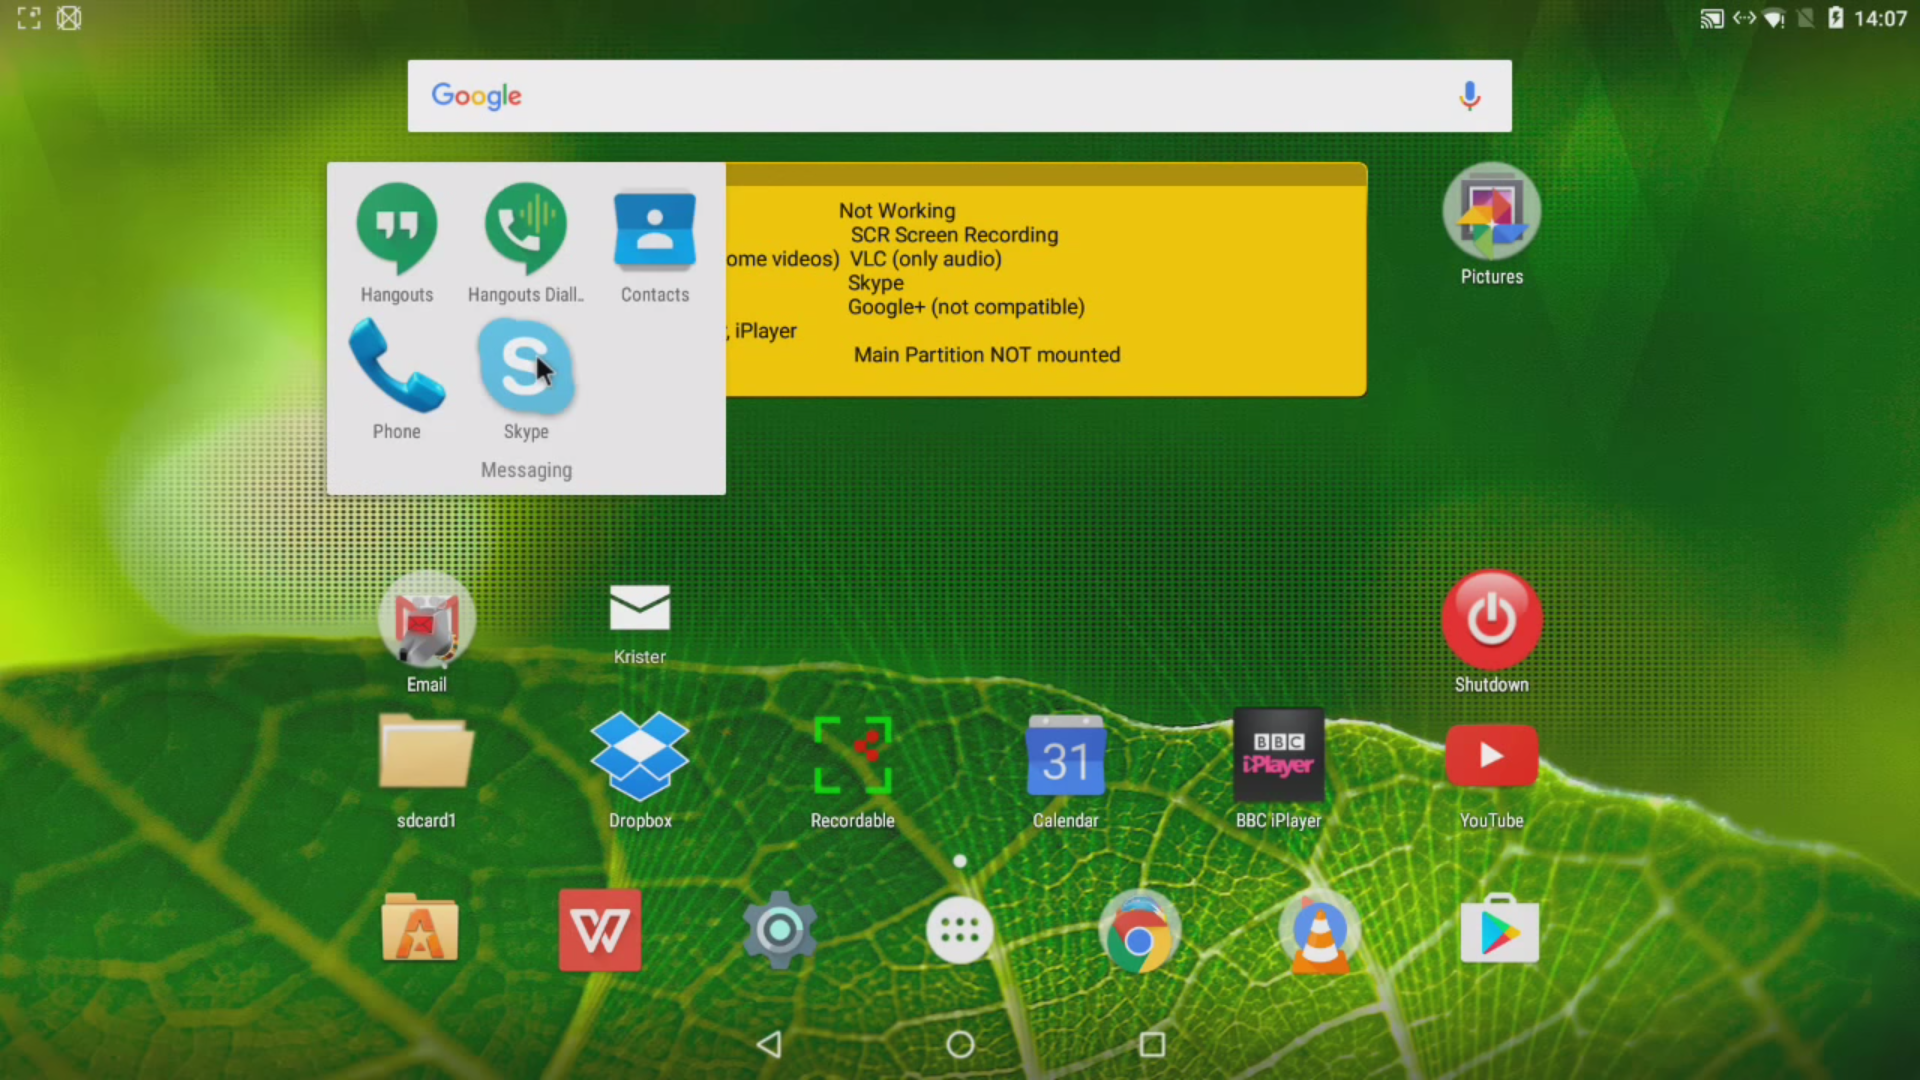
Step 16. Finish
That's all, the installation of Android x86 on your computer is complete. Now you can use Android right on your computer. You can install and run Android applications, play games:
findings
As you have seen, installing android x86 on a pc is not so different from other operating systems. If you are lucky and the system fully supports your hardware, then you can very easily get a full-fledged Android system to your computer. If you have any questions, write in the comments!
At the end of the video with the installation process of Android from the American video blogger:
Gingerbread), then nothing is easier. It is not necessary to buy a device with this OS in order to satisfy your curiosity.
A further detailed manual will tell how to install Android on the example of Honeycomb 3.0 on Windows 7 (there will not be any special differences in installation from the version of Windows XP or Vista).
It is also worth mentioning the application Bluestacks, which allows you to run any program or game for Android on your computer running Windows and OS X. Instructions for using Bluestacks
1. First we need to download the installer Android SDK on this link. Choose normal installerits installation is the simplest.
2. Install the downloaded installer by clicking the buttons below. Most likely you will need to install the Java SE Development Kit and you will see this window:
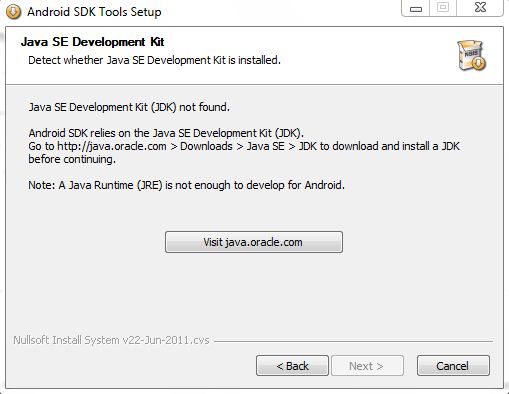
Click on the button "Visit java.oracle.com" and opens a browser window.
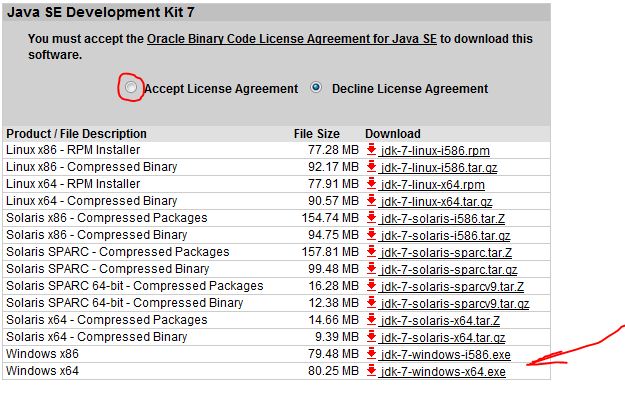
Choose the JDK version:
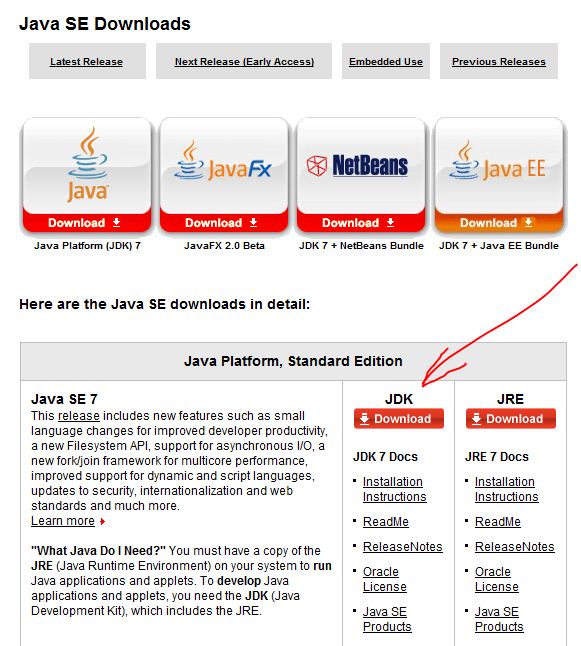
On the next page, confirm your consent to use and select the JDK for your OS version:
Download, install and restart the Android SDK installer, which we downloaded in the first paragraph.
After installation, if you leave the checkbox in place, it will start automatically.
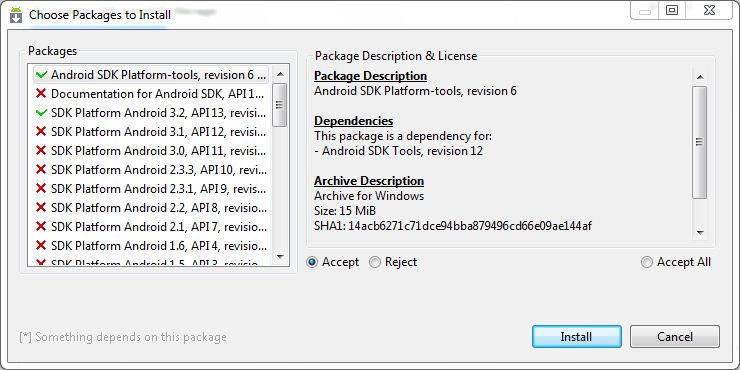
3. After the first launch, we need to slightly configure our SDK and leave only the necessary components, in my example this Android SDK Platform-tools revision 6, Android SDK Platform 3.2 revision 1 and several samples: Samples for SDK API11 revision 1, Samples for SDK API12 revision 1, Samples for SDK API13 revision 1
By default, all components are allowed to run ( Accept), we need to turn off unnecessary ones by clicking on each component in turn and choose Reject.

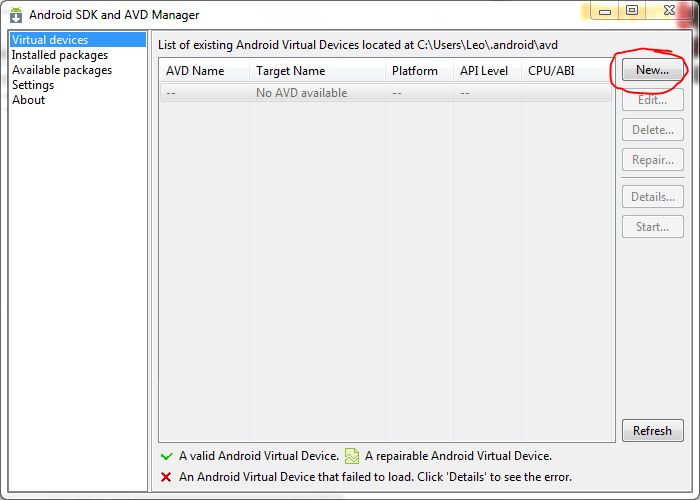
4. After all components have been downloaded and installed, you need to restart ADB, the program will prompt you and create AVD (Android Virtual Device)
Push button New:
We set such settings ( Device Ram Size can be increased to 512, resolution Resolution You can also set your own):
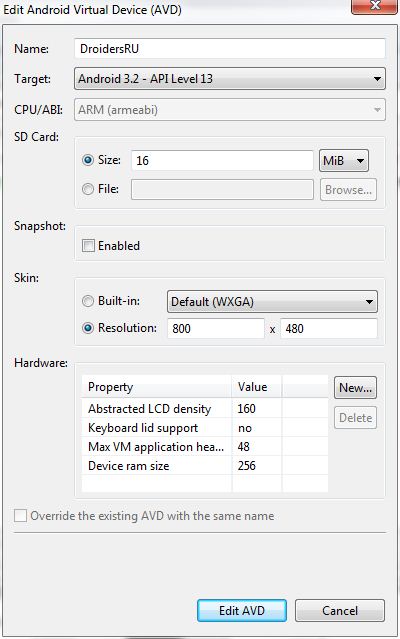
And we press Create AVD. This is where the creation of a virtual device is completed.
5. Run the created virtual device AVD
The first launch can take a few minutes, we can only wait patiently.

In a couple of minutes, and maybe more, you will see a full-fledged Android Honeycomb
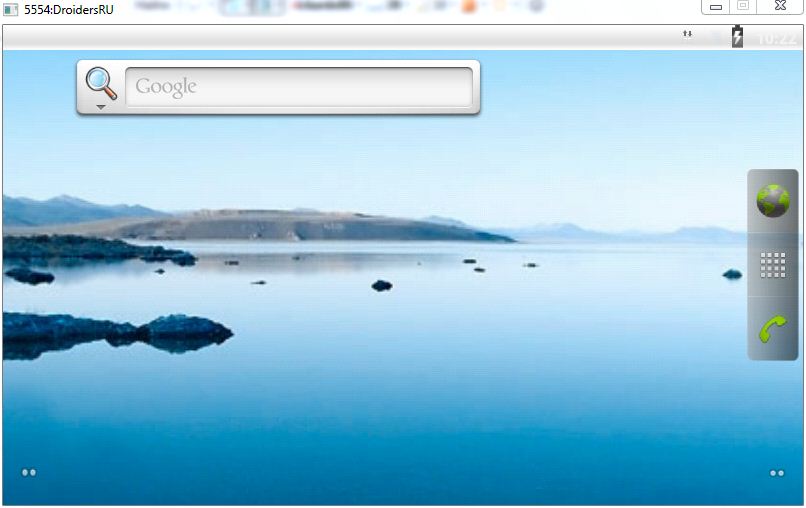
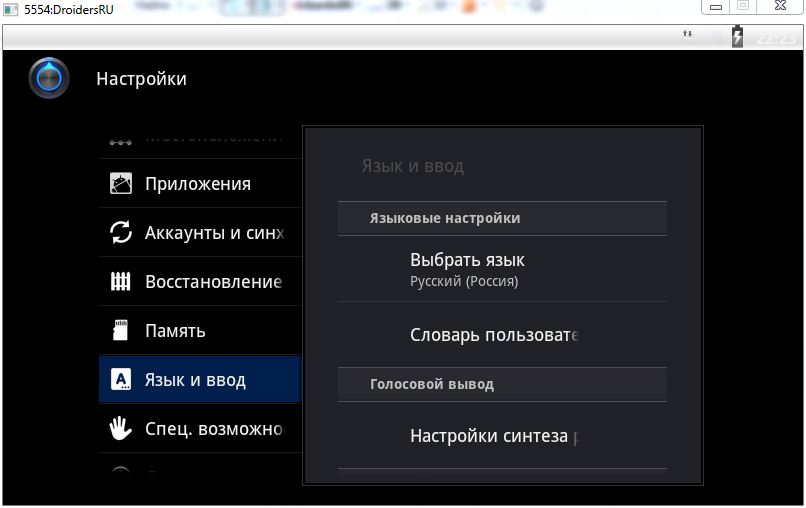
Do not forget to go to the settings and change the language to Russian